

-
When Spirion is opened it for the first time it will prompt for a password. It is recommended that you create a password. Using a password will allow you to save your profile as you conduct scans and review the findings.
-
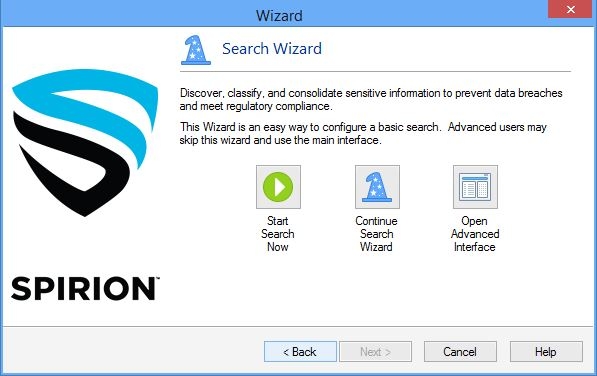
A Spirion Search Wizard will appear. Three options will be listed:
Start Search Now – Immediately starts the search using the default options (SSNs, credit card numbers, and passwords)
Continue in Wizard Mode – Prompts you to answer several questions and then starts the search
Skip Wizard and Use Advanced Mode – Skips the Wizard and lets you configure the search using the main interface
It is recommended for the first run of Spirion that users select “Continue Search Wizard”.
-
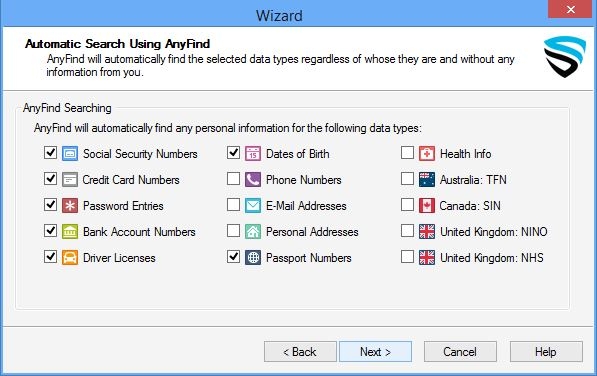
The Search Wizard window will appear with possible data elements to be searched. Social security numbers, credit card numbers, and passwords are checked by default. There are other data elements that should be searched. Virginia Tech has identified 6 data elements that must be protected with encryption as:
· Social Security Numbers
· Credit Card Numbers
· Bank Account Numbers
· Debit Card Numbers
· Passport Numbers
· Driver’s License Numbers
To help Spirion locate these elements make sure checkmarks are placed next to the elements listed above. Click “Next”.
-
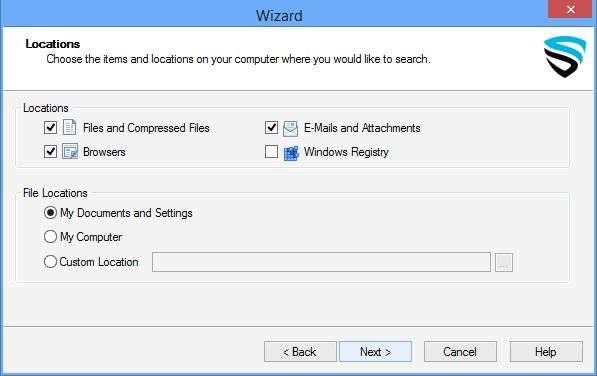
The Locations window will open. Default locations include Files and Compressed Files, Browsers, and E-Mails and Attachments. The file location defaults to My Documents and Settings. Adjust this if needed and click “Next”.
-
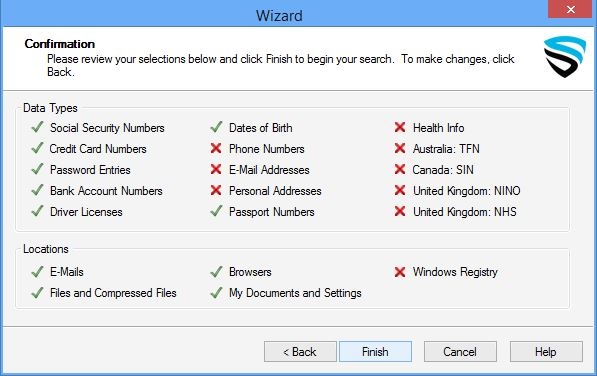
The Confirmation window will open. Click “Finish” to start the search.
-
The results summary will appear after the scan has completed. These are the options that you have to start to clean up what was found.
· Wizard – A quick way to secure your results
· Advanced – Takes you back to the main interface so that you can manually select items and perform actions
· Save As – A way to save your results so that they can be accessed at a later time
· Reminder – Allows you to be reminded later to view the results
How to View and Perform Action on the Results
-
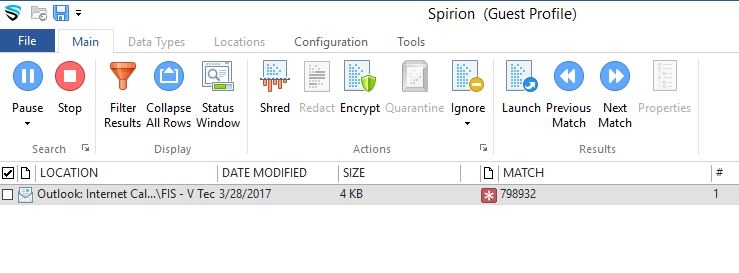
The left panel will show a list of results. If you highlight an item in the left panel it will show the item in the right panel.
-
Place a checkmark beside the items that you want to perform an action on then select the appropriate action at the top. You can only select multiple items if they are the same result type (ex. You can select all of the outlook results but cannot select outlook and word documents results at the same time). Different actions will appear according to the result type.

Shred – Will remove the item completely from your computer (it cannot be retrieved afterwards)
Scrub – This is good feature if you no longer need the personal information but you want to keep the original item. This is only available for certain file types such as Office 2007.
Secure – Will ask you to type in a password to secure the email or file using encryption.
Recycle – Will place it in the recycle bin on your desktop (this option is only available for files)
Ignore – Will be included in an ignore list so that Spirion will no longer search for it anymore